How to create a project in GitLab
Notes:
- For a list of words that are not allowed to be used as project names see the reserved names.
-
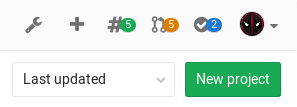
In your dashboard, click the green New project button or use the plus icon in the upper right corner of the navigation bar.

-
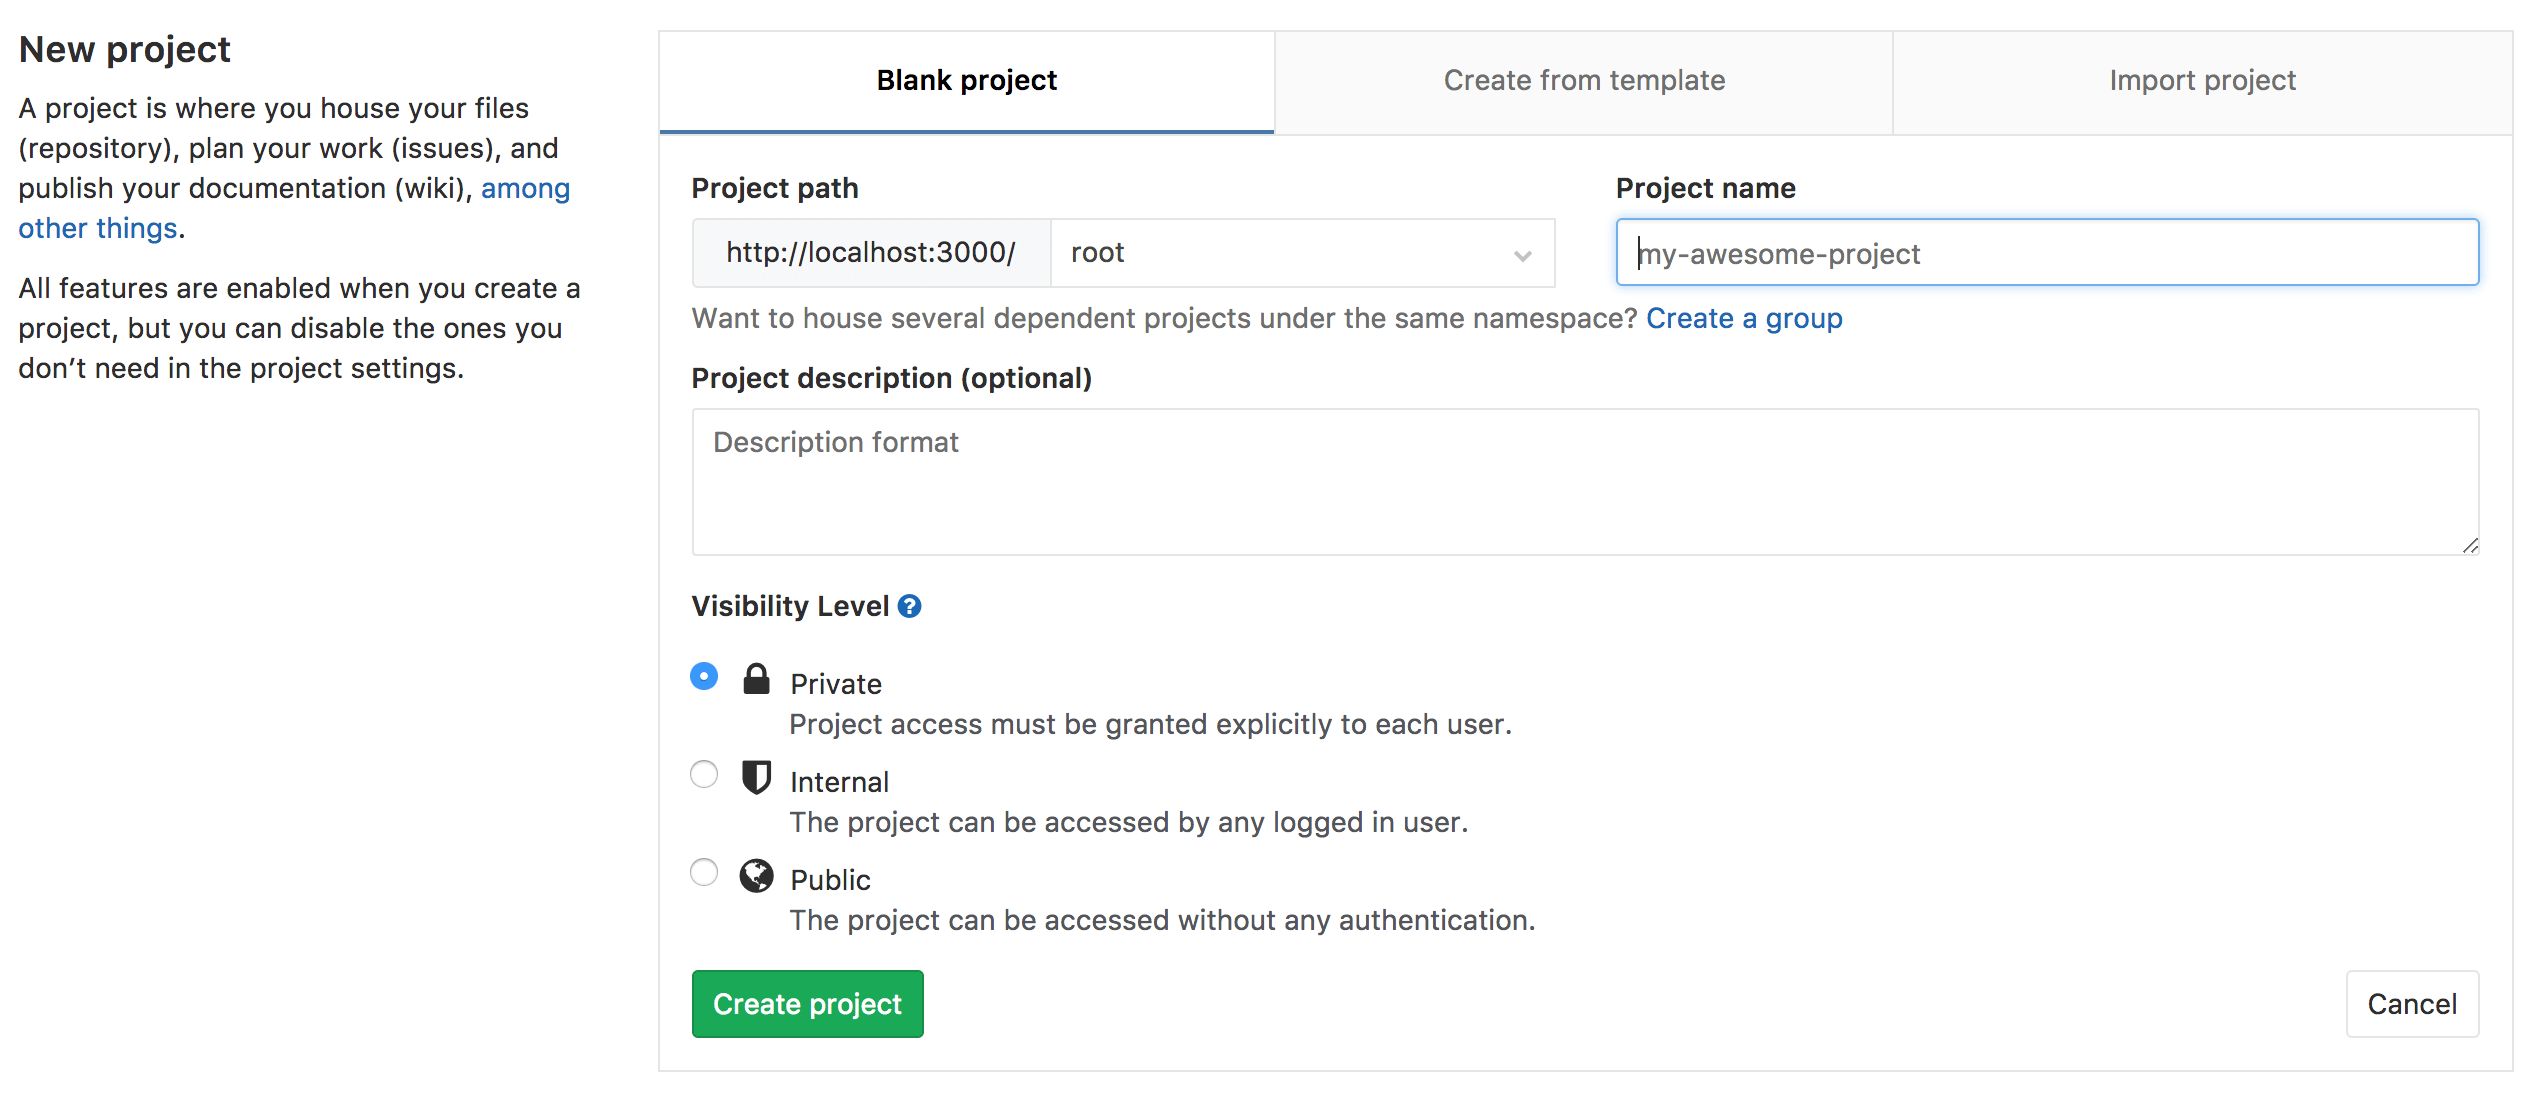
This opens the New project page.
Choose if you want start a blank project, or with one of the predefined Project Templates: this will kickstart your repository code and CI automatically. Otherwise, if you have a project in a different repository, you can import it by clicking on the Import project tab, provided this is enabled in your GitLab instance. Ask your administrator if not.
-
Provide the following information:
- Enter the name of your project in the Project name field. You can't use special characters, but you can use spaces, hyphens, underscores or even emoji.
- The Project description (optional) field enables you to enter a description for your project's dashboard, which will help others understand what your project is about. Though it's not required, it's a good idea to fill this in.
- Changing the Visibility Level modifies the project's viewing and access rights for users.
Click Create project.
Push to create a new project
Introduced in GitLab 10.5.
When you create a new repo locally, instead of going to GitLab to manually create a new project and then push the repo, you can directly push it to GitLab to create the new project, all without leaving your terminal. If you have access to that namespace, we will automatically create a new project under that GitLab namespace with its visibility set to Private by default (you can later change it in the project's settings).
This can be done by using either SSH or HTTP:
## Git push using SSH
git push --set-upstream git@gitlab.example.com:namespace/nonexistent-project.git master

## Git push using HTTP
git push --set-upstream https://gitlab.example.com/namespace/nonexistent-project.git master
Once the push finishes successfully, a remote message will indicate the command to set the remote and the URL to the new project:
remote:
remote: The private project namespace/nonexistent-project was created.
remote:
remote: To configure the remote, run:
remote:   git remote add origin https://gitlab.example.com/namespace/nonexistent-project.git
remote:
remote: To view the project, visit:
remote:   https://gitlab.example.com/namespace/nonexistent-project
remote: